Plan Annotations: Shape
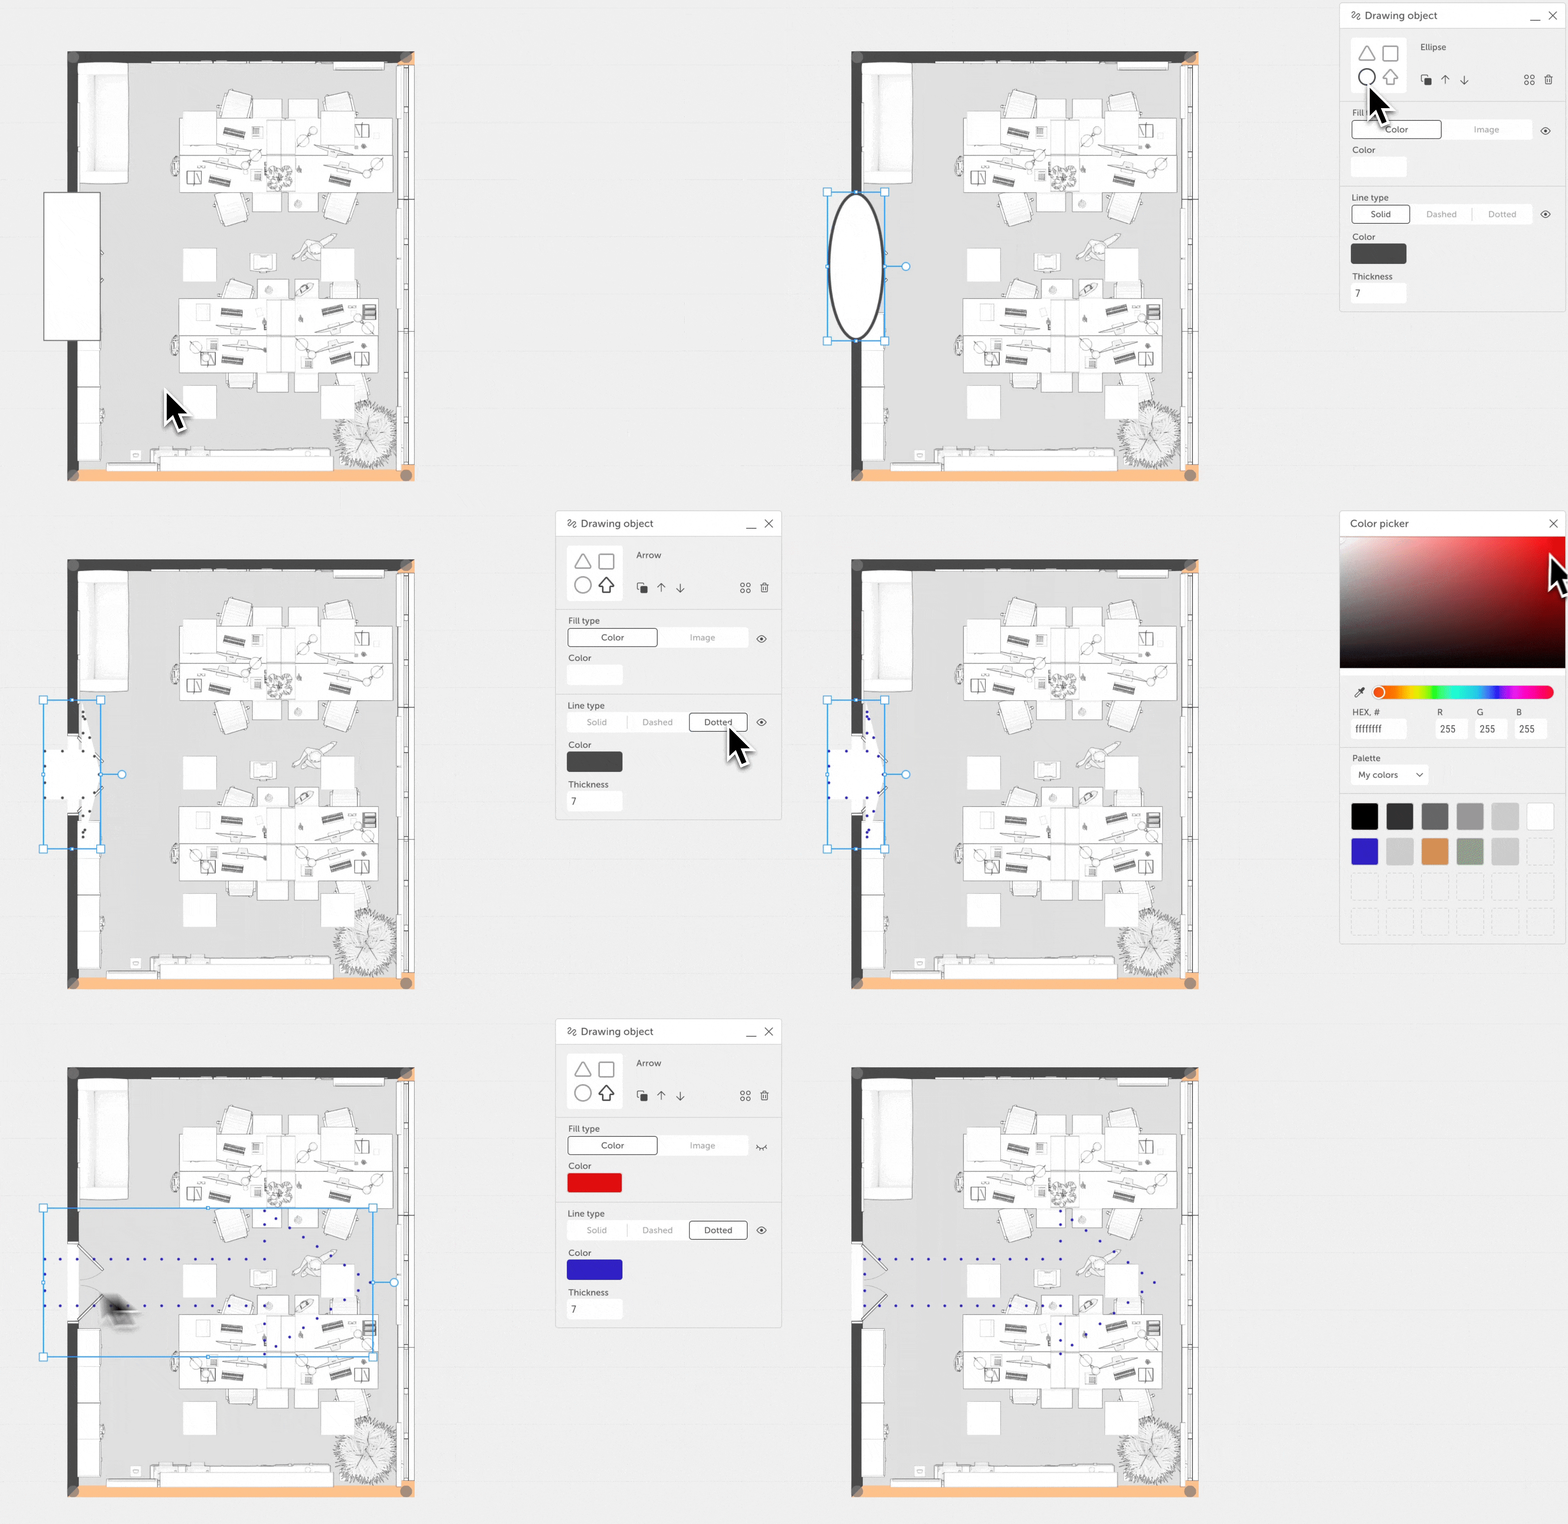
The Shape tool allows you to add custom graphic annotations to your floor plan — for example, to mark furniture, zones, or other elements that don’t require 3D models. Shapes are only visible in the 2D plan and do not appear in the 3D editor or renders. This is a convenient way to make your drawings more informative and understandable for clients or team members.
Adding a shape
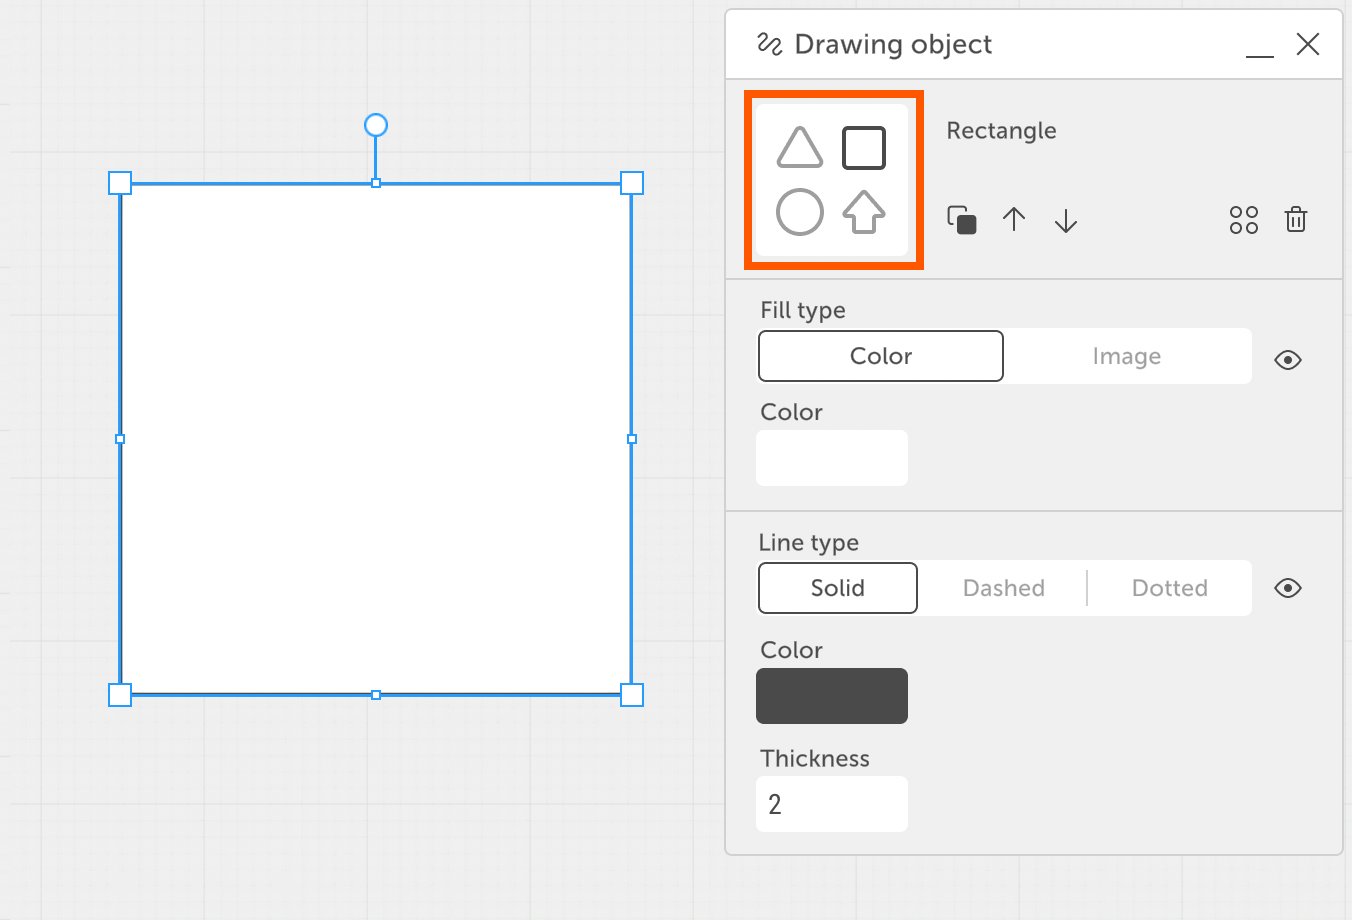
When you add a shape to the project, the «Drawing Object» menu automatically opens in the top-right corner with the default option set to Rectangle. This shape is highlighted in black in the preview window.
The added shape appears on the plan with a selection frame. Resize handles are located along the sides and in the center of the frame edges.
To resize the shape:
- hover over a handle;
- hold down the left mouse button;
- drag the handle in the desired direction.
To rotate the shape:
- use the rotation handle at the top of the selection frame.
To move the shape:
- hover the cursor over the shape;
- hold down the left mouse button;
- drag the shape to the desired position.

Choosing a Shape Type
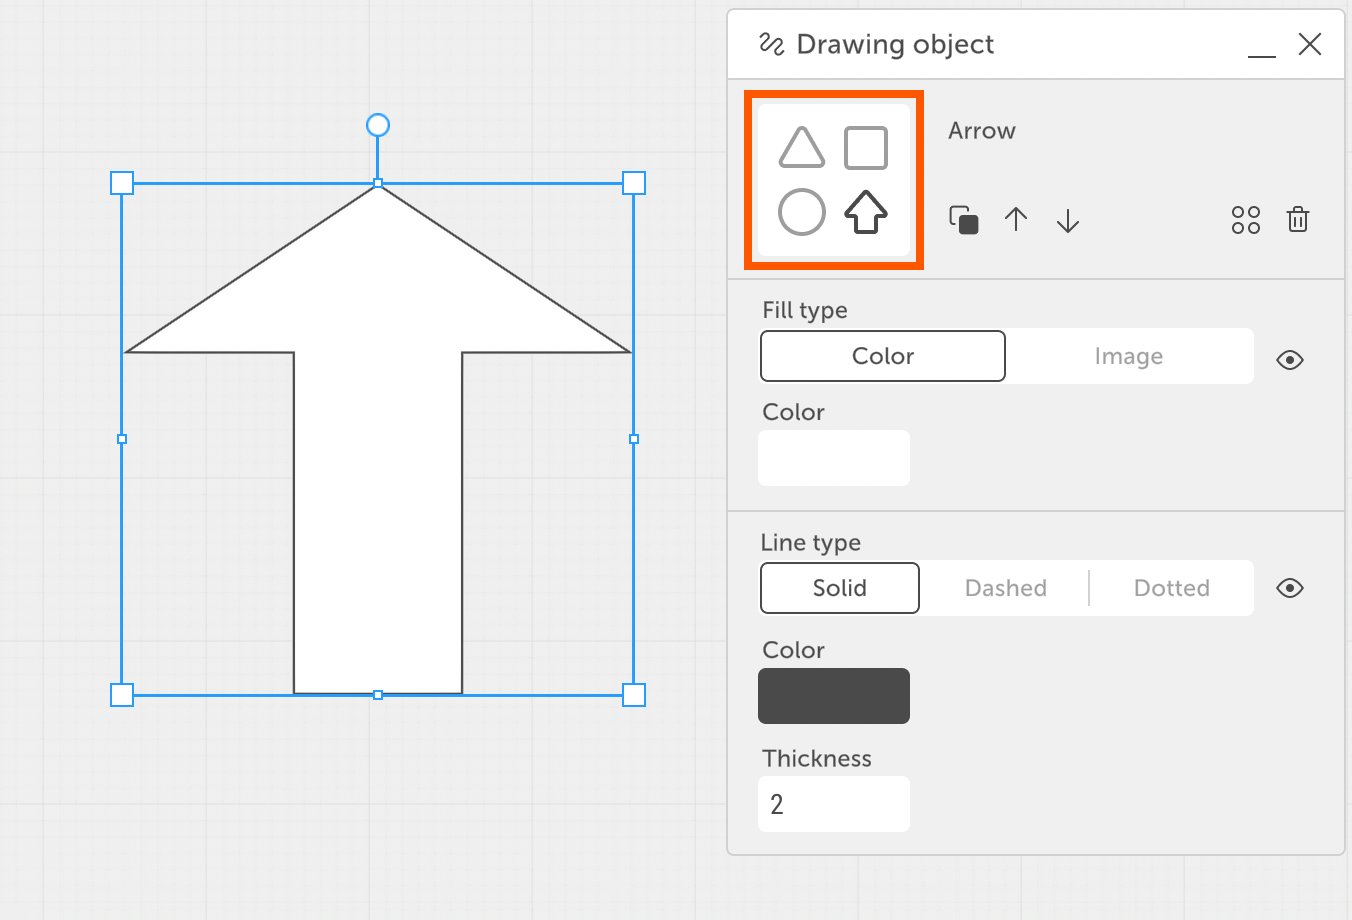
In the Shape Preview panel, you can select a different type of symbol object. When you hover over a shape, it is highlighted in blue. Click with the left mouse button to apply it.
After selection, newly added shapes will use the chosen type by default.
[Image]: Interface showing available shape types, with one active.

Shape Actions
- Copy (two squares icon) — creates a duplicate of the selected shape. You can also use
Ctrl + CandCtrl + V(on Mac:Cmd ⌘ + C, Cmd ⌘ + V) or holdAlt(Mac:Option ⌥) and drag the shape to copy it. To duplicate the line again, useCtrl + D(Mac:Cmd ⌘ + D). - Above all (up arrow): moves the shape above all other symbol objects.
- Under all (down arrow): moves the shape below all other symbol objects.
- Delete (trash icon): meletes the selected shape. You can also press the Delete key on your keyboard to remove it.
Fill Settings
- Fill Type: choose between solid color and image.
- Color: use the Color Picker to select a fill color.
- Image: when you select the image fill and click the preview, a menu opens where you can upload an image from your computer, via URL, from the built-in catalog.
- Reset ratio (icon): restores the original aspect ratio of the image. The longest side will be scaled to 2 meters.
- Eye icon: toggles fill visibility. When hidden, the icon switches to a closed eye.
Line Settings
- Line Type: choose from three predefined styles — solid, dashed, or dotted.
- Eye icon: toggles the visibility of the shape’s outline. When hidden, the icon switches to a closed eye.
Line Color and Thickness
- Color: set the outline color using the Color Picker.
- Thickness: minimum value is 1. You can adjust the thickness in the following ways — using the slider, typing the value manually, using the up/down arrow buttons next to the input field.