How to make different coverings/zoning on a wall or floor?
In Planoplan, you can create different floor and wall coverings, as well as highlight zones using various textures or tile layouts. This helps visually separate spaces, emphasize functional areas, or create accent surfaces.
The main tool for zoning is the Surface design, where you can add shapes to walls, floors, and ceilings and assign textures or tile layouts to them.
For zoning floor areas, you can use walls with a height of 0. This allows you to create visual separations without physically dividing the space.
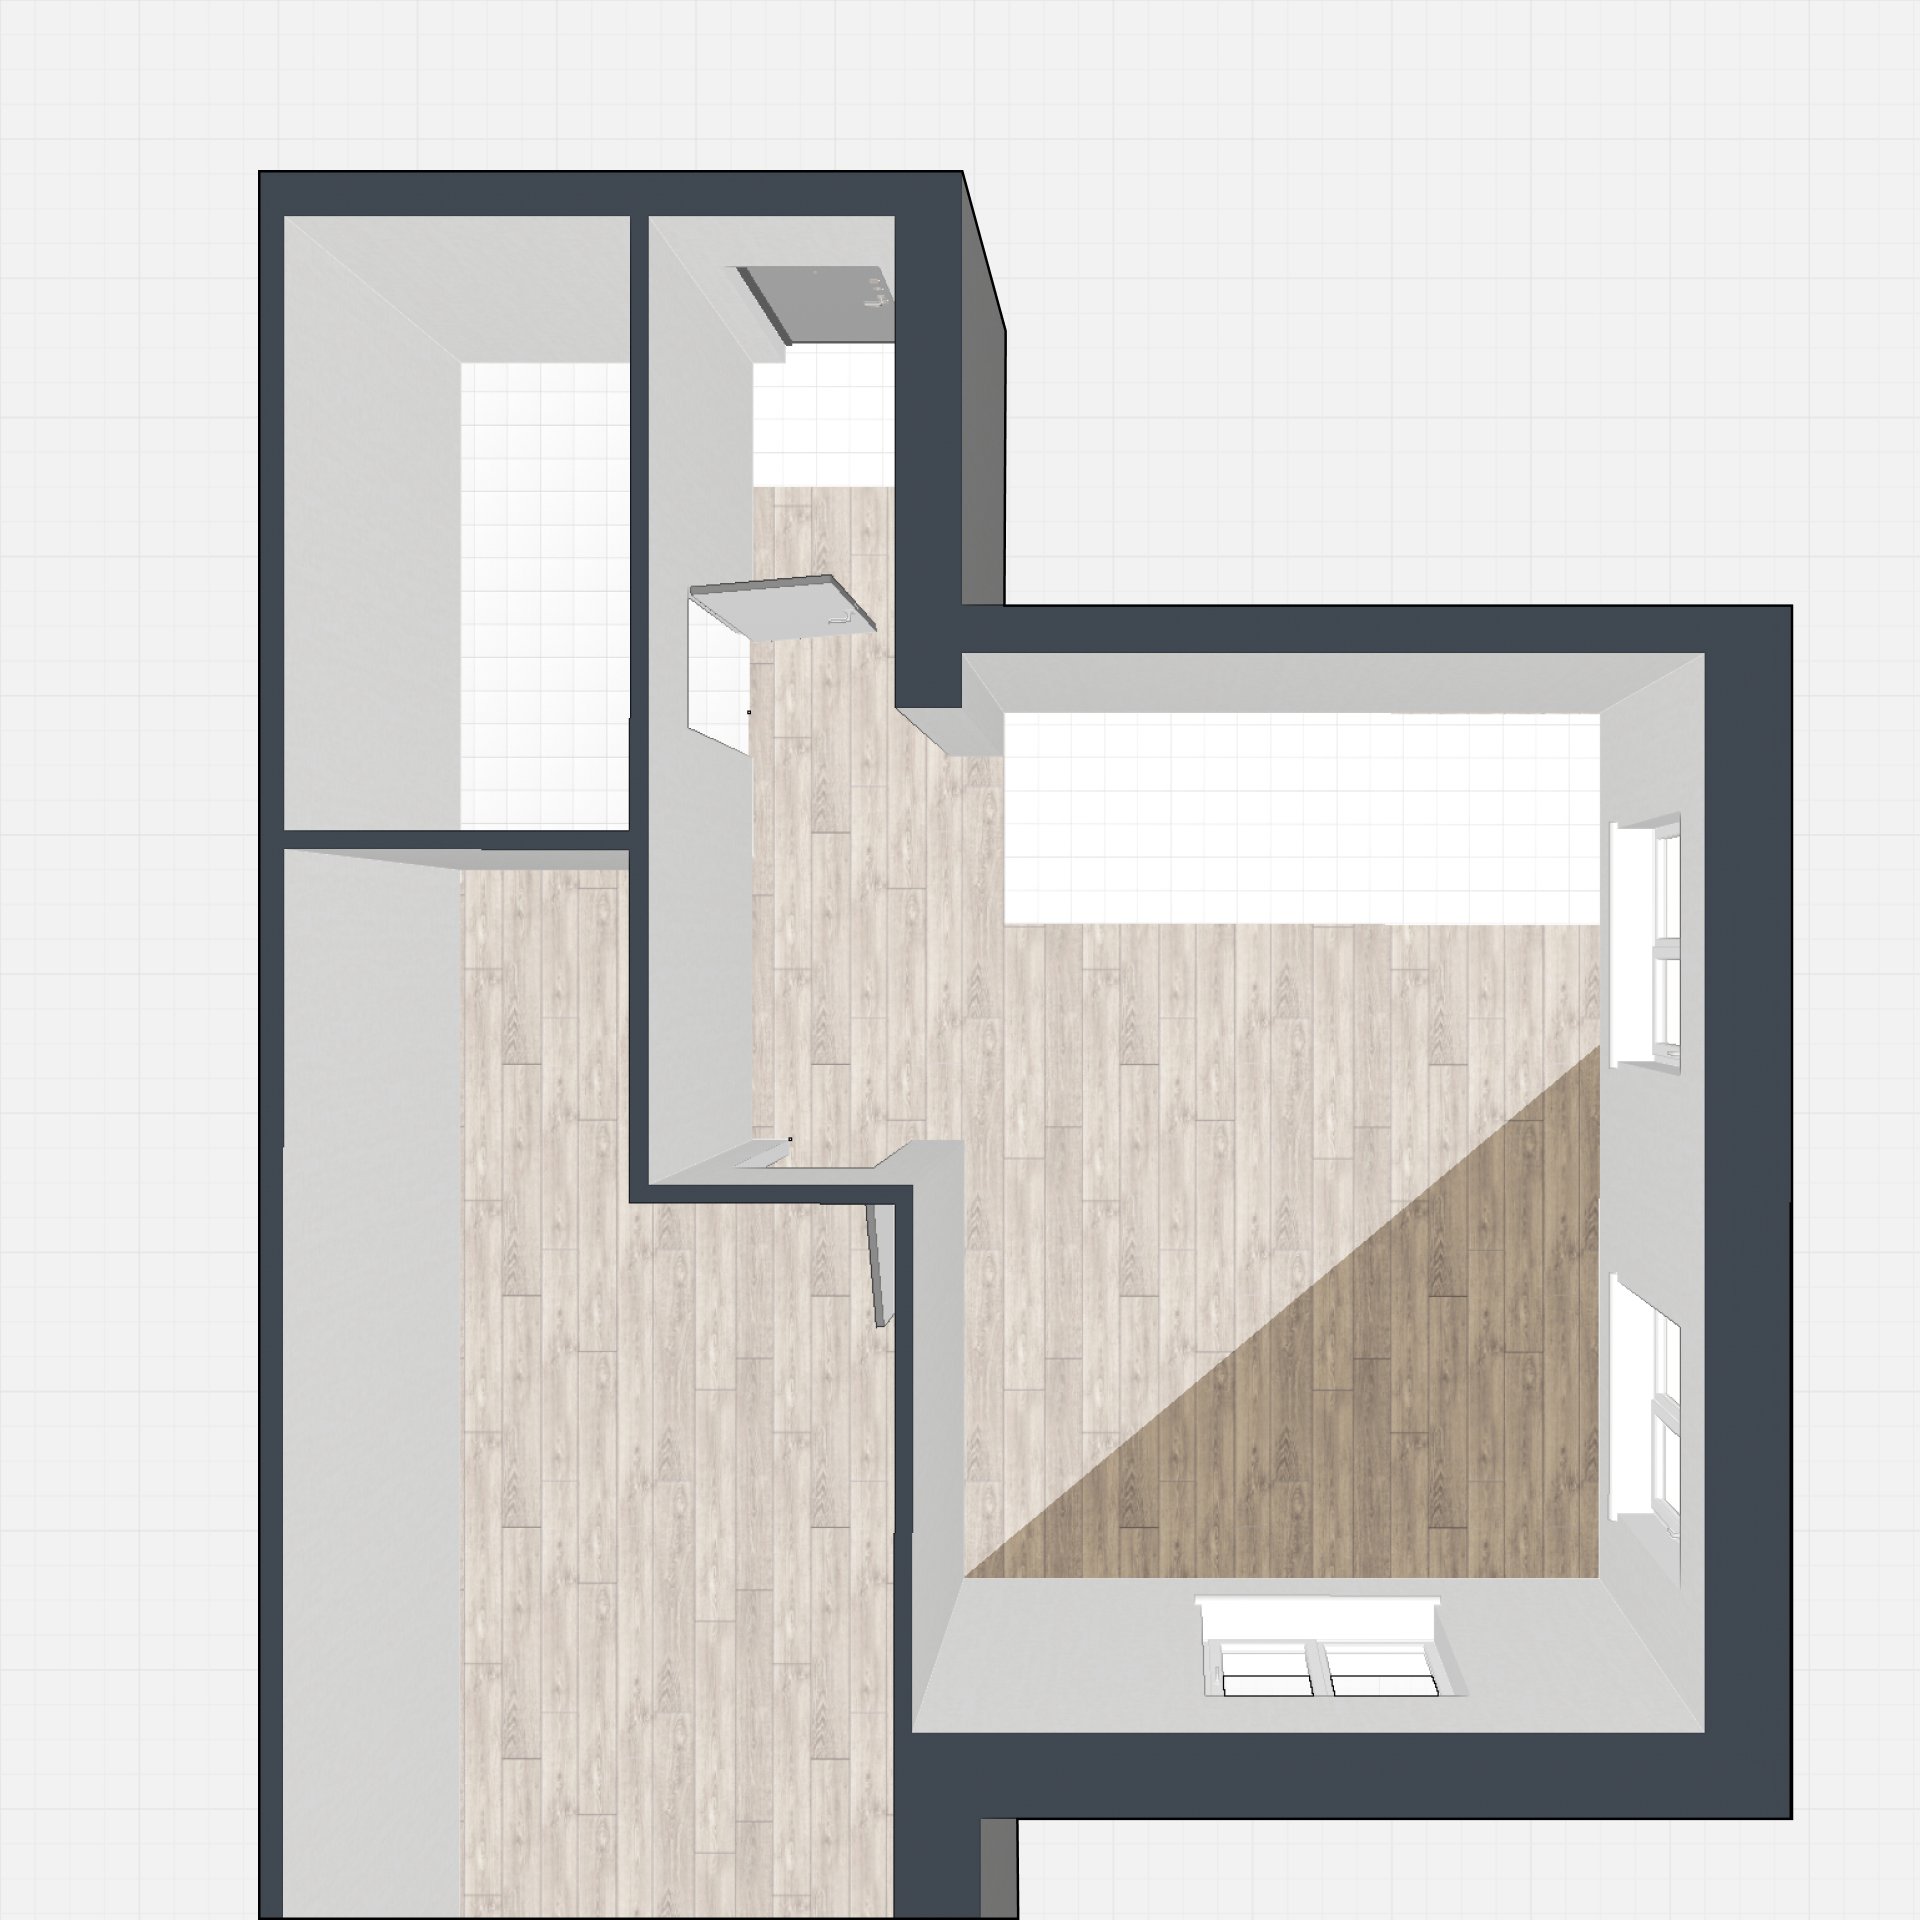
[Image]: diagram showing the use of walls with height 0 to highlight zones on the floor with different textures (e.g., tiles and parquet).
For vertical wall zoning, walls can be divided into segments. In 2D mode, walls are split using points, and in 3D mode, apply different textures to each resulting segment.
If you need one part of a wall to have one covering and another part a different one (for example, paint on the left and tiles on the right):
- Use the Panel primitive or a Cube from the Primitives section.
- Set the desired size and position on the wall.
- Apply textures or tile layouts to each shape.
This way, you can combine floor and wall coverings, creating interesting and functional interiors.
If you have any questions, found an error, or couldn't find the information you need, please contact us at support@planoplan.com, use the built-in support on the website or in th app (icon in the bottom right corner).