Setting up natural light in Planoplan
Information about key features
- 4 august 2023
- 7678
We described in details all the processes of working with lighting with the help of preview renders, because they give the opportunity to assess the most accurate and quick result that will be generated on the final render.
Lighting is one of the most important steps in rendering a photorealistic render. The location and brightness of light sources affect the quality of the image, affect the mood and character of the image. For example, the height of the sun above the horizon affects the lighting temperature of the sun and sky. And separate sun and sky intensity settings allow you to balance the softness of the lighting in an interior.
The Planoplan 3.0.5 update features allow you to customize lighting at the preview rendering stage that is identical to 4K resolution lighting with maximum details.
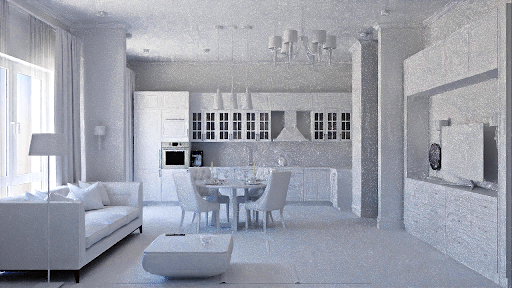
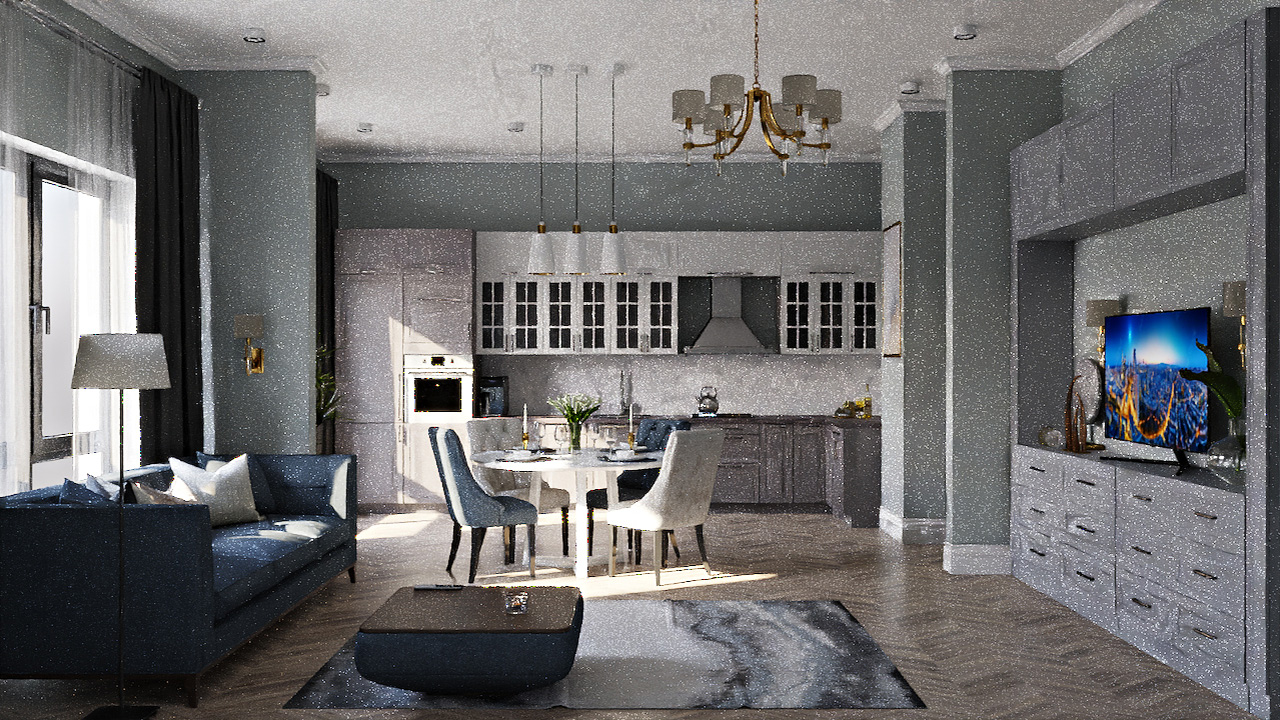 Render №1: directed sunlight
In the render above, the sun's surround brightness is set to one in the options, and the direction of light and height above the horizon are also set. So that the sunlight falls on the kitchen table and illuminates the center part of the kitchen. This render took 2 minutes to load.
You can see that the lighting is completely identical to what we get in the 4K resolution renders.
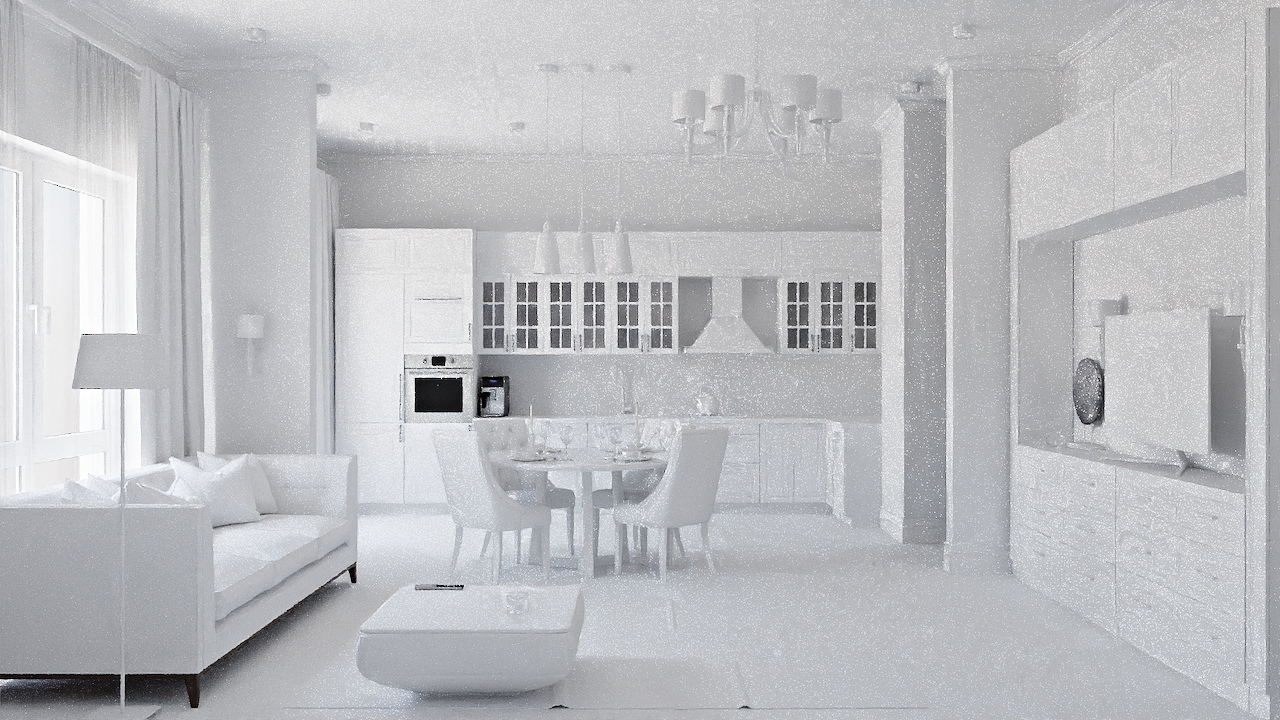
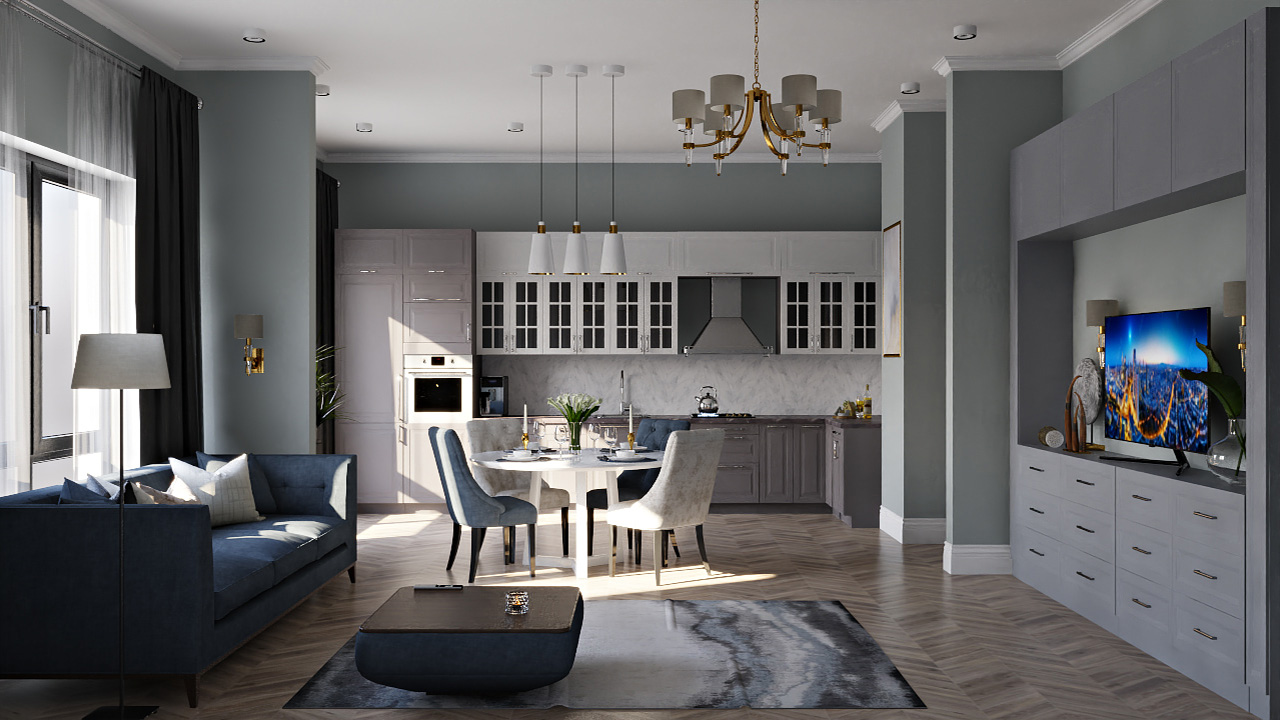 Render №2: sunlight off ( no/without sunlight)
Despite the lights being off in the picture, the light inside has become more even. If you look at the dark sides near the sofa and under the table, you can see that these places are even brighter, which seems a bit paradoxical.
The sun is a very bright light source, and due to automatic brightness, the renderer adapts to it. The picture looks more contrasted.
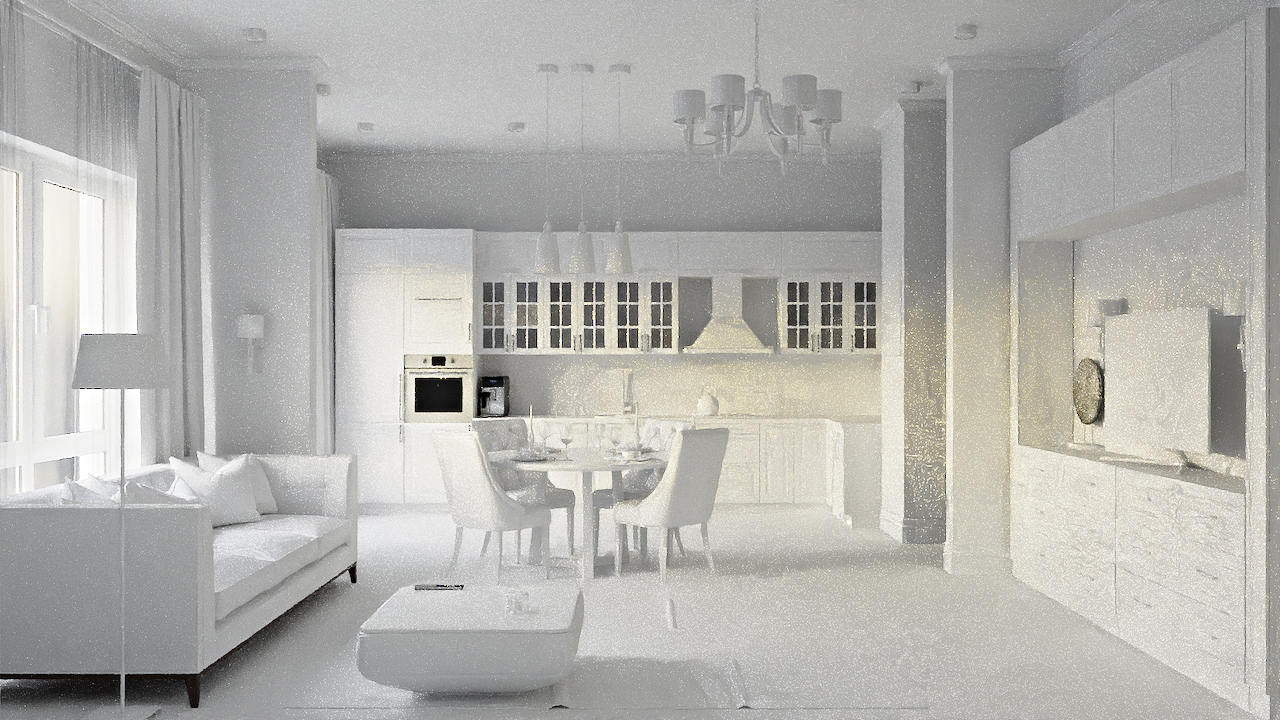
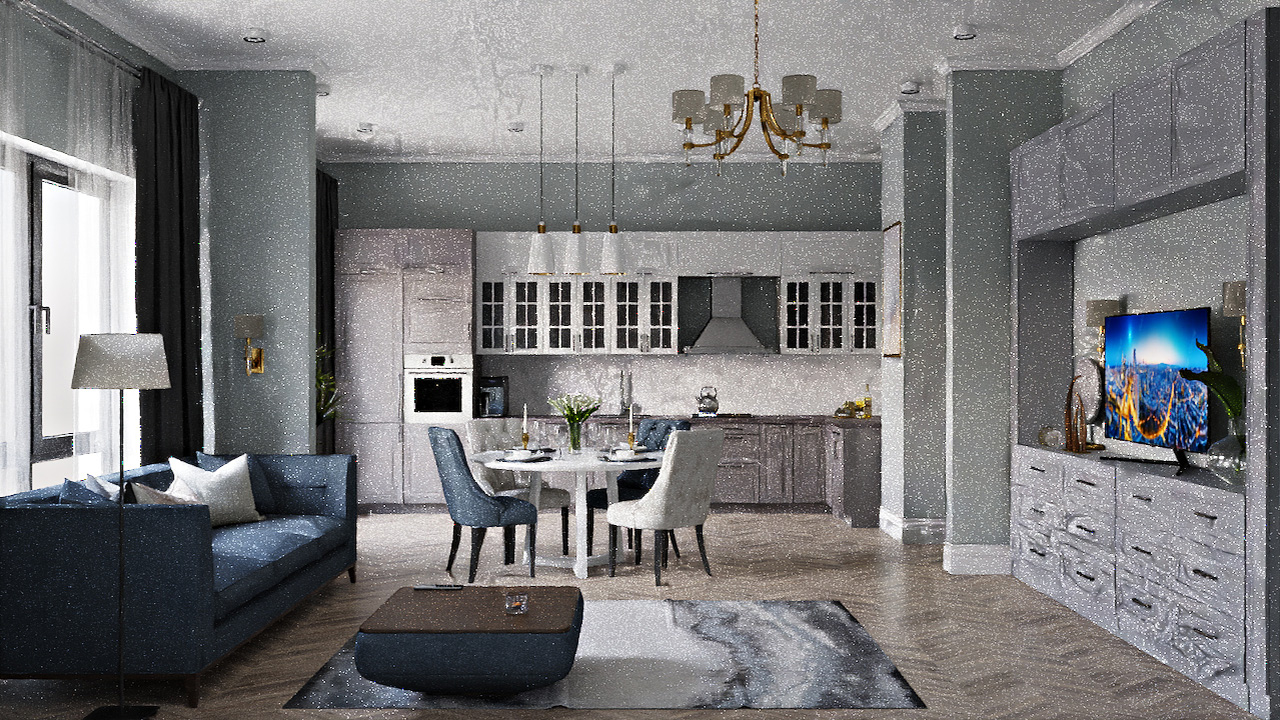 Render №3: even with an illuminated interior
To light the interior evenly, you have to decrease the sun value. The sun is back, but the picture is still evenly lit. Compared to the first picture, where we have both: brought back the sun and kept the lighting soft.
However, even though the lights are off in the picture, the light inside has become more even. If you look at the dark sides near the couch and under the table, you can see that these places have even gotten brighter, which seems a bit paradoxical.
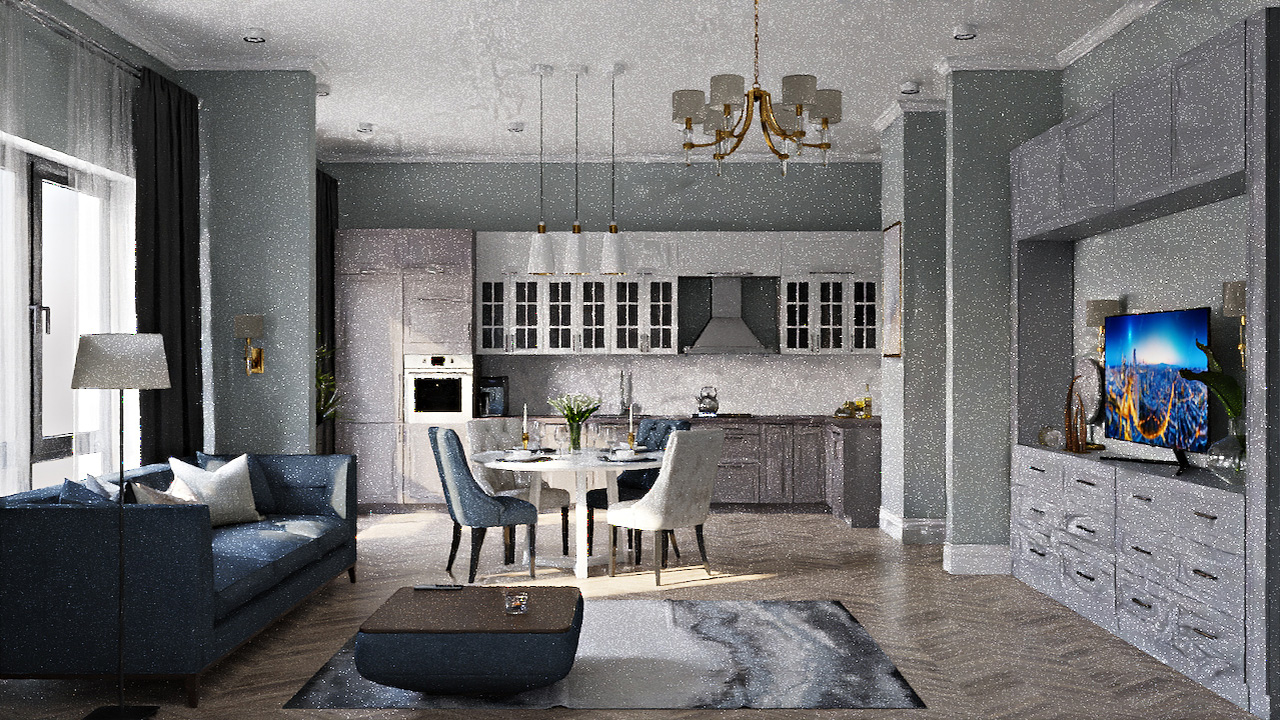 Render №4: the surrounding brightness and the brightness of the sun are of the same value.
The surrounding brightness in the picture is set to the same value as the brightness of the sun. The room is illuminated identically.
.
Only the secondary objects change, the TV and the light under the kettle are simulations of the flame under the gas stove. They are labeled with a self-luminous material. They are brighter or dimmer depending on the brightness of the natural light. This means that the brightness of the surroundings and the brightness of the 0.25 sun will fully match the brightness of the 1, if there are no other light sources.
2) Let's talk about the temperature of natural light illumination.
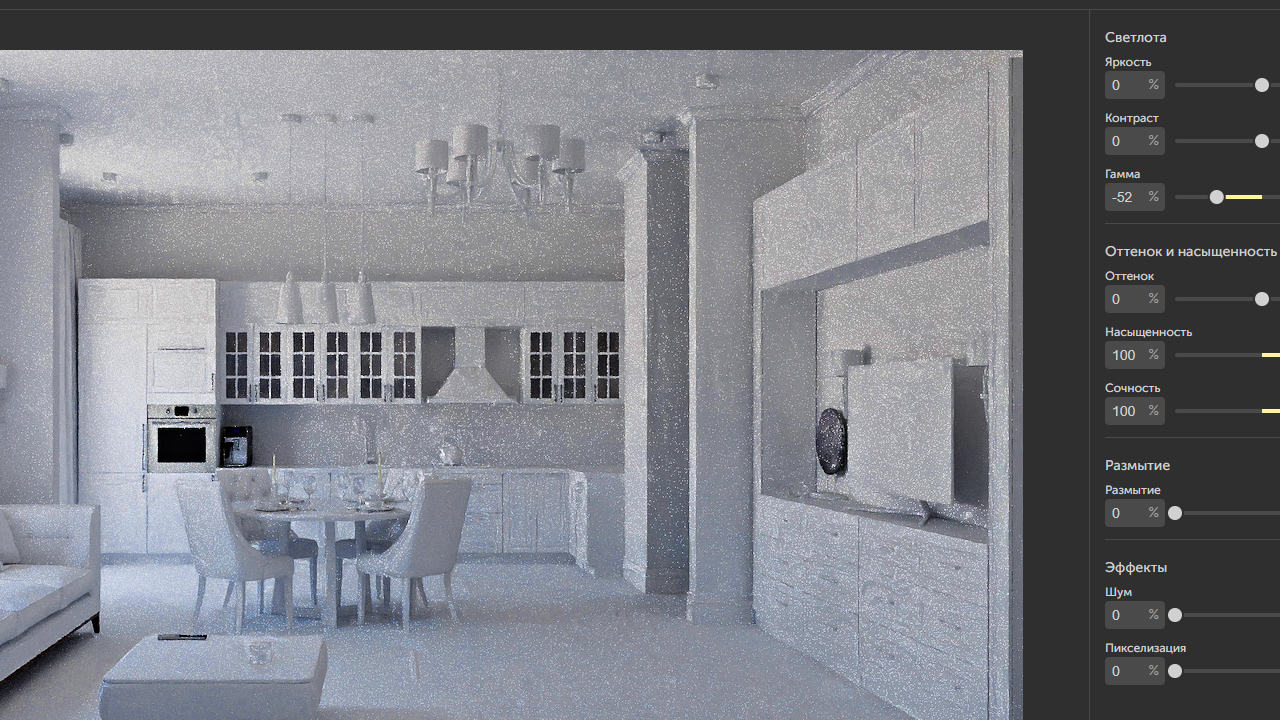
 Render №5: Interior in gray color
In the picture, the objects are purposely painted in gray. Using this example, you can see the dependence of the sun's position above the horizon with the warmth of the lighting in the interior. For example, if we set the sun to the zenith, go to the image editing menu, and in the settings, turn the sliders for intensity and power up to 100 percent, and lower the gamma, there will be a blue tint that comes through the window.
 Render N6: render with a blue tint - the color of the sky.
Or you can fill the room with a cool blue shade even more - bring the gamma back by turning up the sliders of the succulence to make the picture completely black and white. Let's compare it to the way it was.
 Render №6: Simulate a late evening or early morning light condition.
If we lower the sun as low to the horizon as possible, we get the effect of late evening or early morning.
Let's see what happens if we turn off the sun.
 Render №7 twilight
Despite the fact that direct sunlight is gone, the room is still filled with warm light. This is because the dome of the sky is not homogeneous.
 Render №8 evening sky
If the sun is on the other side of the apartment, all the warmth of the color is gone and the lighting becomes neutral. If you turn it up to the max when editing, you can see that the warm light remains in the center area. This means the side where the sun is pointing has more value, even if the sun is off. If you raise the sun even higher, you get daylighting.
The main point we want to make is that you can create a daylight effect with celestial cold light. Or evening, when the light from the sun and from the sky is warm. Even though we turn off the sun, the light from the sky from dusk to dawn still fills the room.
 Render №9: sunset
For example, if you want more contrast, you would reduce the gamma value, add succulence, reduce saturation, and change the hue to red.
Knowing how to work with lighting can help you capture any mood in an interior, add accents, and make the render even more realistic.