Panorama
The Panorama feature allows you to set a background environment for your scene in the Planoplan 3D editor. This is especially useful for creating realistic renders, such as adding a view from the window or simulating outdoor lighting.
You can use one of the standard panorama types or upload your own — from your computer, via a link, or from the Catalog.
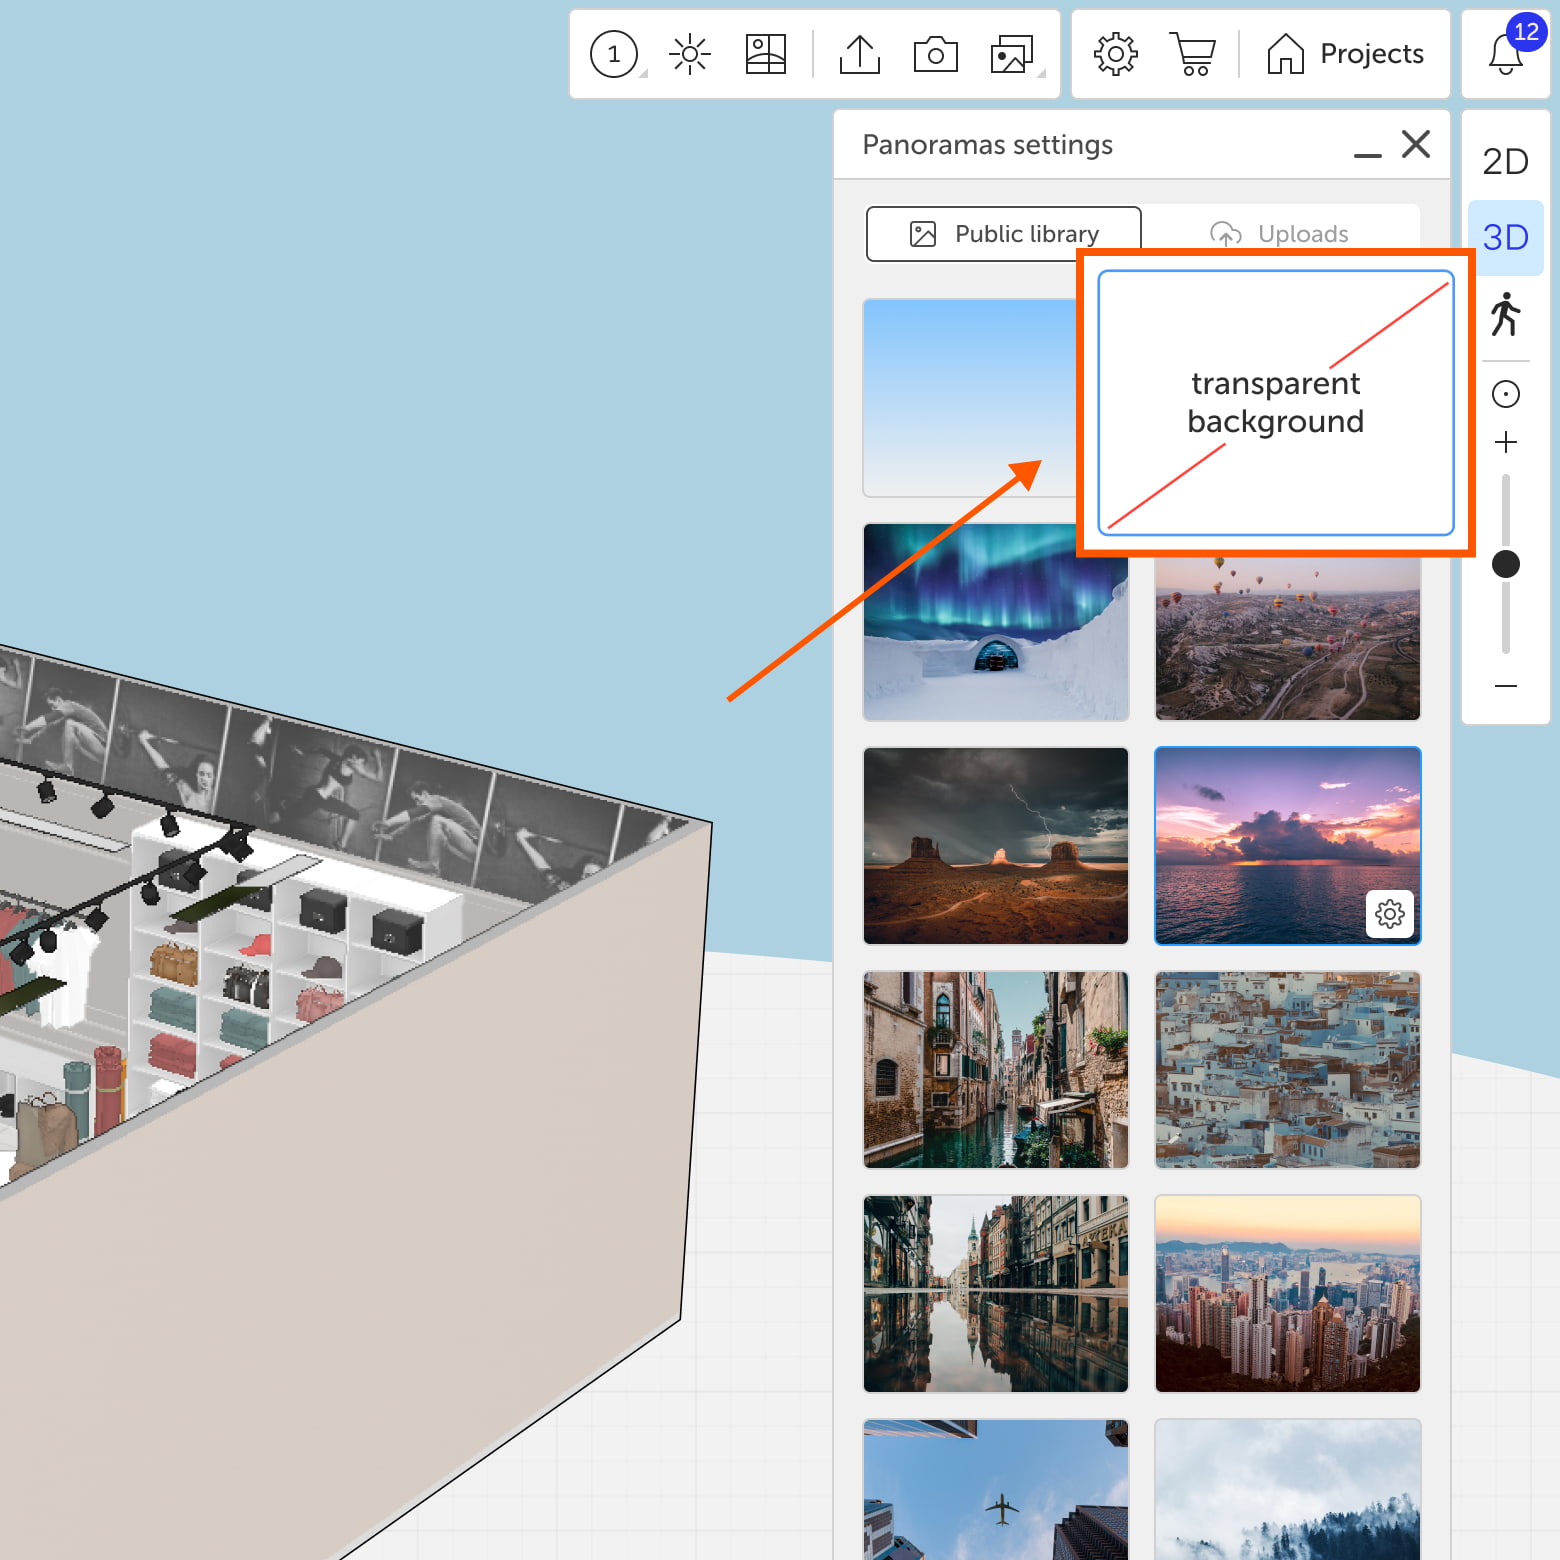
You can also disable the background entirely by selecting «Transparent background».


Panorama display types
When uploading an image, choose how it will be displayed depending on the desired visual effect. The following options are available:
- Panorama — a curved rectangular image. Typically used for positioning behind one of the windows.
- Semisphere — the image is stretched into a hemispherical shape.
- Sphere — the image is evenly stretched over a full sphere, surrounding the entire scene.

All default panoramas included in the app use the «Sphere» mode.
Panorama settings
After uploading an image, you can adjust its position and scale relative to the scene. The following parameters are available:
Shift (X, Y, Z)
By default, the panorama is centered to match the layout. You can offset it along the X, Y, or Z axis as needed.

Rotation
Rotates the image to align it with the layout. This is helpful when you want to match the view from a window precisely.
Radius
Defines the size of the panorama sphere. Adjusting the radius helps ensure the perspective of the background matches the objects in your scene.
Use the radius setting to fine-tune the view outside the window for a more realistic effect.
Height and field of view
These parameters are available only in «Panorama» mode (not in Sphere or Hemisphere modes):
- Height — sets the vertical placement of the image.
- Field of view — changes the proportions of the visible area.
Multiple panoramas in a project
You can add several custom panoramas to a project. For example, assign a separate hemisphere to each side of the layout with its own image.

Panorama control panel
The control panel allows you to:
- Upload a different image
- Show or hide the panorama
- Reset settings to defaults
- Delete the panorama from the project


If you have any questions, found an error, or couldn't find the information you need, please contact us at support@planoplan.com, use the built-in support on the website or in th app (icon in the bottom right corner).